
Events often come up where having matching gear for your team can raise morale and create unity. It shows you are there together, which is extremely helpful for sports teams at large events or fellow employees at a corporate retreat. With the customization options available, you can use your brand or team’s colors, logos, quotes, and images to create the perfect memorabilia token.
Custom hoodies are a great way to keep your team warm and comfortable if your event will be outdoors. Creating your hoodies involves several steps, from design conception to selecting the proper printing method and fabric. Here’s a comprehensive guide to help you through the process:
Step 1: Design Your Custom Hoodies
Your first step will be to design the look of your hoodies. Since you are creating something for an entire team, you don’t want to overdo the graphics and make it overwhelming. Start with a clear idea of what you want; this could be a graphic, text, or combination. Pick out the colors you want your design to be and what color you want your hoodies to be. Also, consider using your logo, team name, or company name.
For more complex designs, you can use Canva or those with some basic design skills can use software like Adobe Illustrator. If no one on your team has design capabilities, you can hire a graphic designer to help you create the perfect look. When you are looking to create logos, make sure your design is memorable and reflects your brand.
Step 2: Select the Design Method
There are two main customization options: prints and embroidery. Printing involves pressing ink onto the fabric to create your chosen design, while embroidery stitches the design directly into the fabric. Both methods have pros and cons, so it’s essential to consider what will work best for your design.
Clean and Professional Embroidery
Custom embroidery has a clean, professional, durable look that will last properly. Embroidery on a sweatshirt is best for small, simple designs, like a logo or group name on the front.
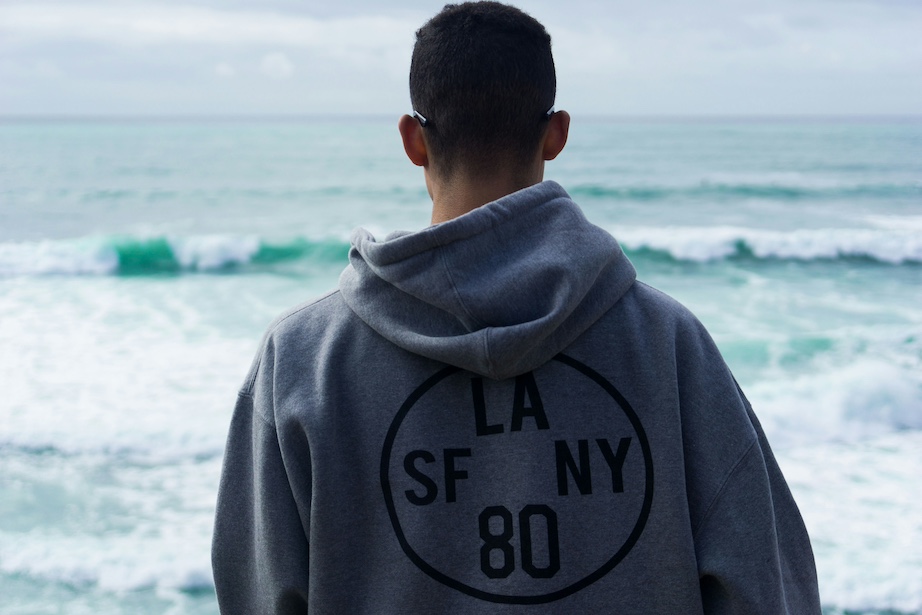
Any Design with Printing
Printing gives you way more design options than embroidery, as you can have intricate designs and various colors. It’s also a better option for larger designs; for instance, if you want to design the entire back of a hoodie, it’s best to choose print.
Step 3: Choose the Fabric
Consider how heavy you want your custom hoodies to be. Knowing whether you want your hoodies to be lightweight and breathable or thick, cozy, and warm will help you determine the type of fabric to go with. The most common hoody materials are cotton, polyester, and fleece.
Step 4: Printing and Production
Once your hoodie design is complete with your choice of print type and fabric, you’re ready to find a printing service to fulfill your order. Ensure the printing company offers the printing method you’ve chosen and has the type of hoodie you want. Many companies now offer easy online platforms where you can upload your design, select your hoodie, and order from your computer. They should also provide design and customer support if questions or issues arise.
Step 5: Finalize and Order
Before committing to a large order, you’ll want to get a sample from the printing service company to check the quality and print of the fabric. That way, you can make any necessary adjustments to your design or choice of material. Once satisfied with the sample, proceed to order.
In Conclusion
Creating custom hoodies for an event or team can enhance unity, boost morale, and give everyone a memorable token of the experience. By following the steps outlined and working with a trusted printing service—you can ensure a result that meets your expectations. Remember, the key to a successful custom hoodie project lies in thoughtful planning, creative design, and careful selection of materials and printing methods.
Photo by Wil Stewart on Unsplash
Contributed posts are advertisements written by third parties who have paid Woman Around Town for publication.